
ESP32 Buttons in Arduino: Wiring, Debouncing, and Interrupts
Wire a mechanical button to ESP32 safely, debounce it in software, and upgrade to interrupt-driven input without blocking your loop—using patterns that work on common Arduino-ESP32 core releases.
Buttons are the simplest human input, but mechanical contacts bounce: they chatter for milliseconds and can look like dozens of edges to fast software. This guide shows correct wiring, polling with debounce and edge detection, and a compact interrupt + flag pattern suitable for busy loop() workloads.
Versions: Examples target Arduino-ESP32 core 2.0.x APIs (attachInterrupt, pinMode, INPUT_PULLUP). If you use 3.x, verify attachInterrupt signature and GPIO restrictions in the release notes for your board.
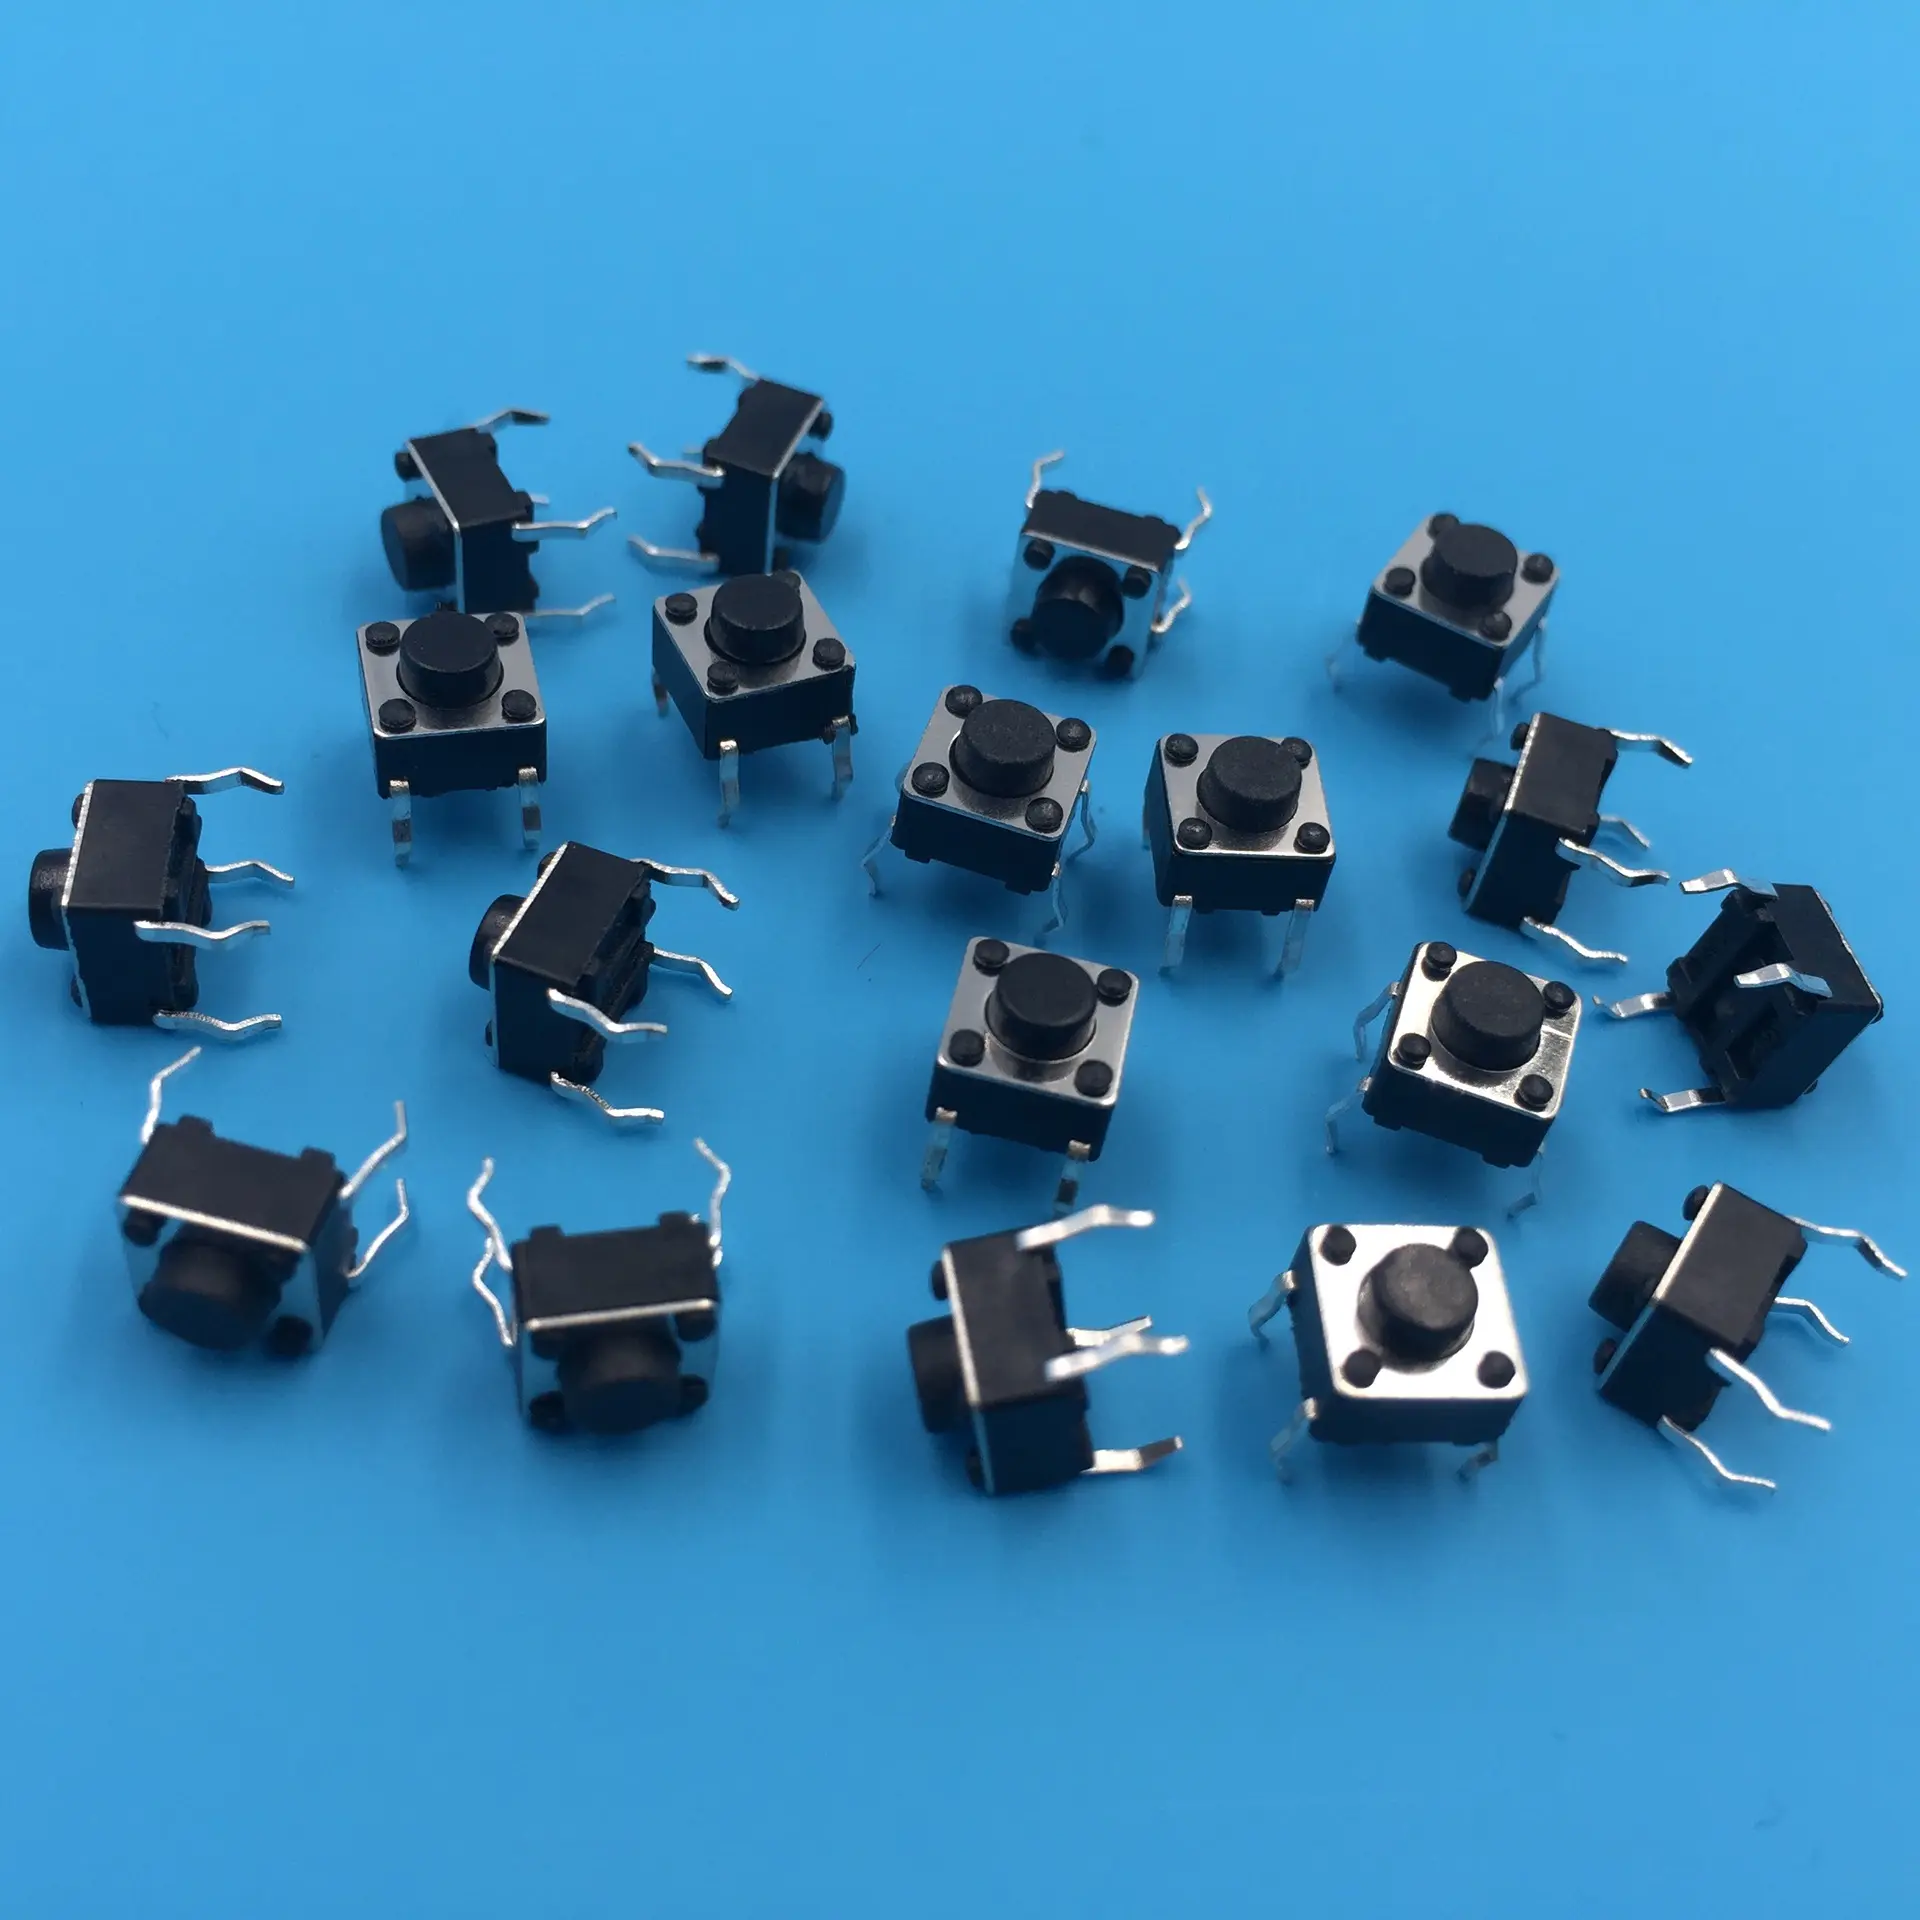
Wiring: pull-ups, pull-downs, and known idle state
An input must never float; otherwise noise toggles the pin.
- Internal pull-up (common): one terminal to GPIO, the other to GND. Idle reads HIGH; pressed reads LOW when using
INPUT_PULLUP. - External pull-down: one terminal to 3.3 V, the other to GPIO, with a ~10 kΩ resistor from GPIO to GND. Idle reads LOW if wired accordingly.
GPIO selection tips
Avoid strapping pins where possible (GPIO 0, 2, 5, 12, 15 on many classic ESP32 modules), because their boot‑time level can alter flash / download behavior. GPIO 13, 14, 25, 26, 27 are commonly convenient for buttons on many devkits—still confirm your module pinout.
Polling with debounce (detects one press event)
This pattern records a stable state after 50 ms quiet time and prints once per transition to pressed.
/*
 * ESP32 button polling + debounce + edge detect
 * Arduino-ESP32 core 2.0.x
 */

const int BUTTON_PIN = 14;

int lastRawReading = HIGH;
int stableState = HIGH;
unsigned long lastDebounceTime = 0;
const unsigned long debounceMs = 50;

void setup() {
  Serial.begin(115200);
  pinMode(BUTTON_PIN, INPUT_PULLUP);
}

void loop() {
  const int reading = digitalRead(BUTTON_PIN);

  if (reading != lastRawReading) {
    lastDebounceTime = millis();
  }

  if ((millis() - lastDebounceTime) > debounceMs) {
    if (reading != stableState) {
      stableState = reading;
      if (stableState == LOW) {
        Serial.println("Button pressed (edge)");
      }
    }
  }

  lastRawReading = reading;
}
Interrupts: keep ISRs tiny; debounce in the ISR with care
For low-latency wakeups, use an interrupt to set a flag, then handle serial / network work in loop().
Rules of thumb:
- Mark ISR-shared data
volatile. - Keep the ISR short (no
delay, noSerial.print, minimal work). - On ESP32, avoid
millis()inside ISRs; usemicros()for simple time gaps.
/*
 * ESP32 button interrupt example (flag + micros debounce)
 * Arduino-ESP32 core 2.0.x
 */

const int BUTTON_PIN = 14;

volatile bool buttonPressed = false;
volatile uint32_t lastIsrUs = 0;
const uint32_t debounceUs = 200000;  // 200 ms (adjust to your switch)

void IRAM_ATTR handleButtonInterrupt() {
  const uint32_t now = micros();
  if (now - lastIsrUs > debounceUs) {
    buttonPressed = true;
    lastIsrUs = now;
  }
}

void setup() {
  Serial.begin(115200);
  pinMode(BUTTON_PIN, INPUT_PULLUP);
  attachInterrupt(digitalPinToInterrupt(BUTTON_PIN), handleButtonInterrupt, FALLING);
}

void loop() {
  if (buttonPressed) {
    buttonPressed = false;
    Serial.println("Interrupt: button press accepted");
  }
}
Choosing polling vs interrupts vs libraries
| Method | Complexity | CPU while idle | Typical use |
|---|---|---|---|
| Polling + debounce | Low | Higher (continuous read) | Learning, simple UI |
| Interrupt + flag | Medium | Very low | Busy loop, wake from light sleep |
| Library (e.g. OneButton) | Low–medium | Medium | Multi-click, long-press gestures |
Best practices
- Always debounce mechanically—software (
millis/micros), hardware (RC), or both. - Prefer
INPUT_PULLUPfor fewer external parts when polarity fits your schematic. - Keep ISRs to flags/counters; do I/O and state machines in
loop().
References
Share this article
Comments
0Please sign in to post a comment.
No comments yet.